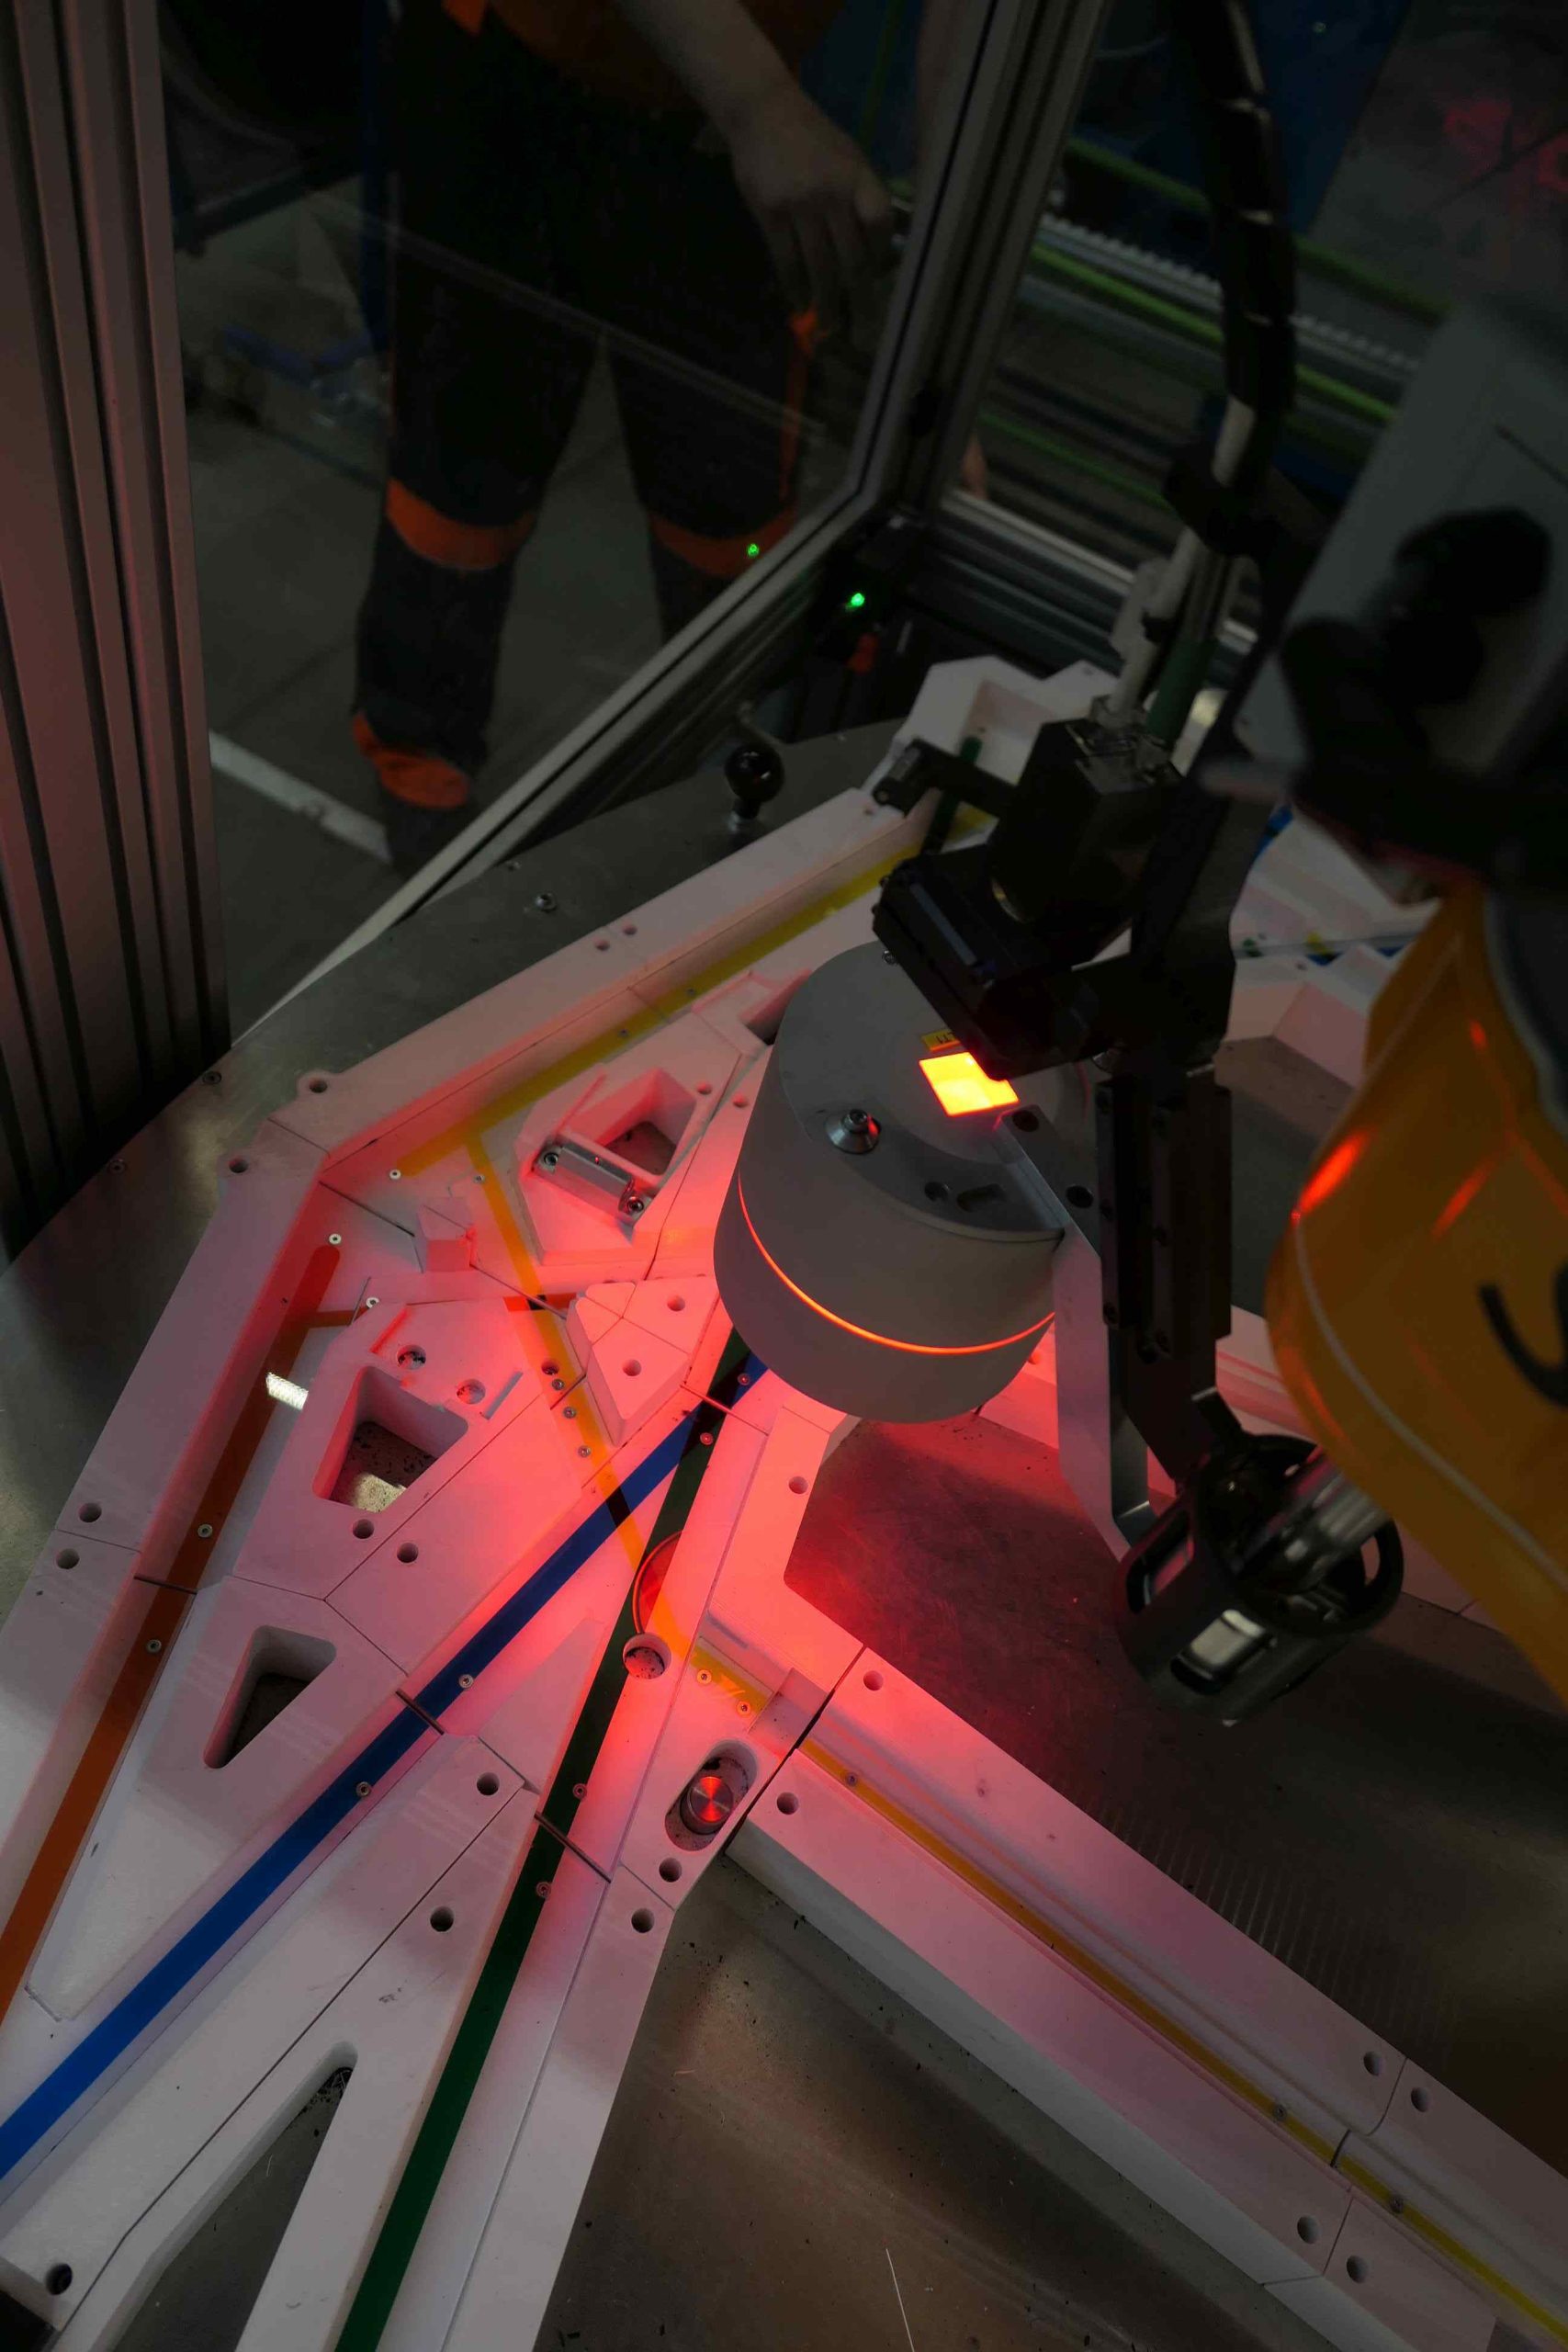
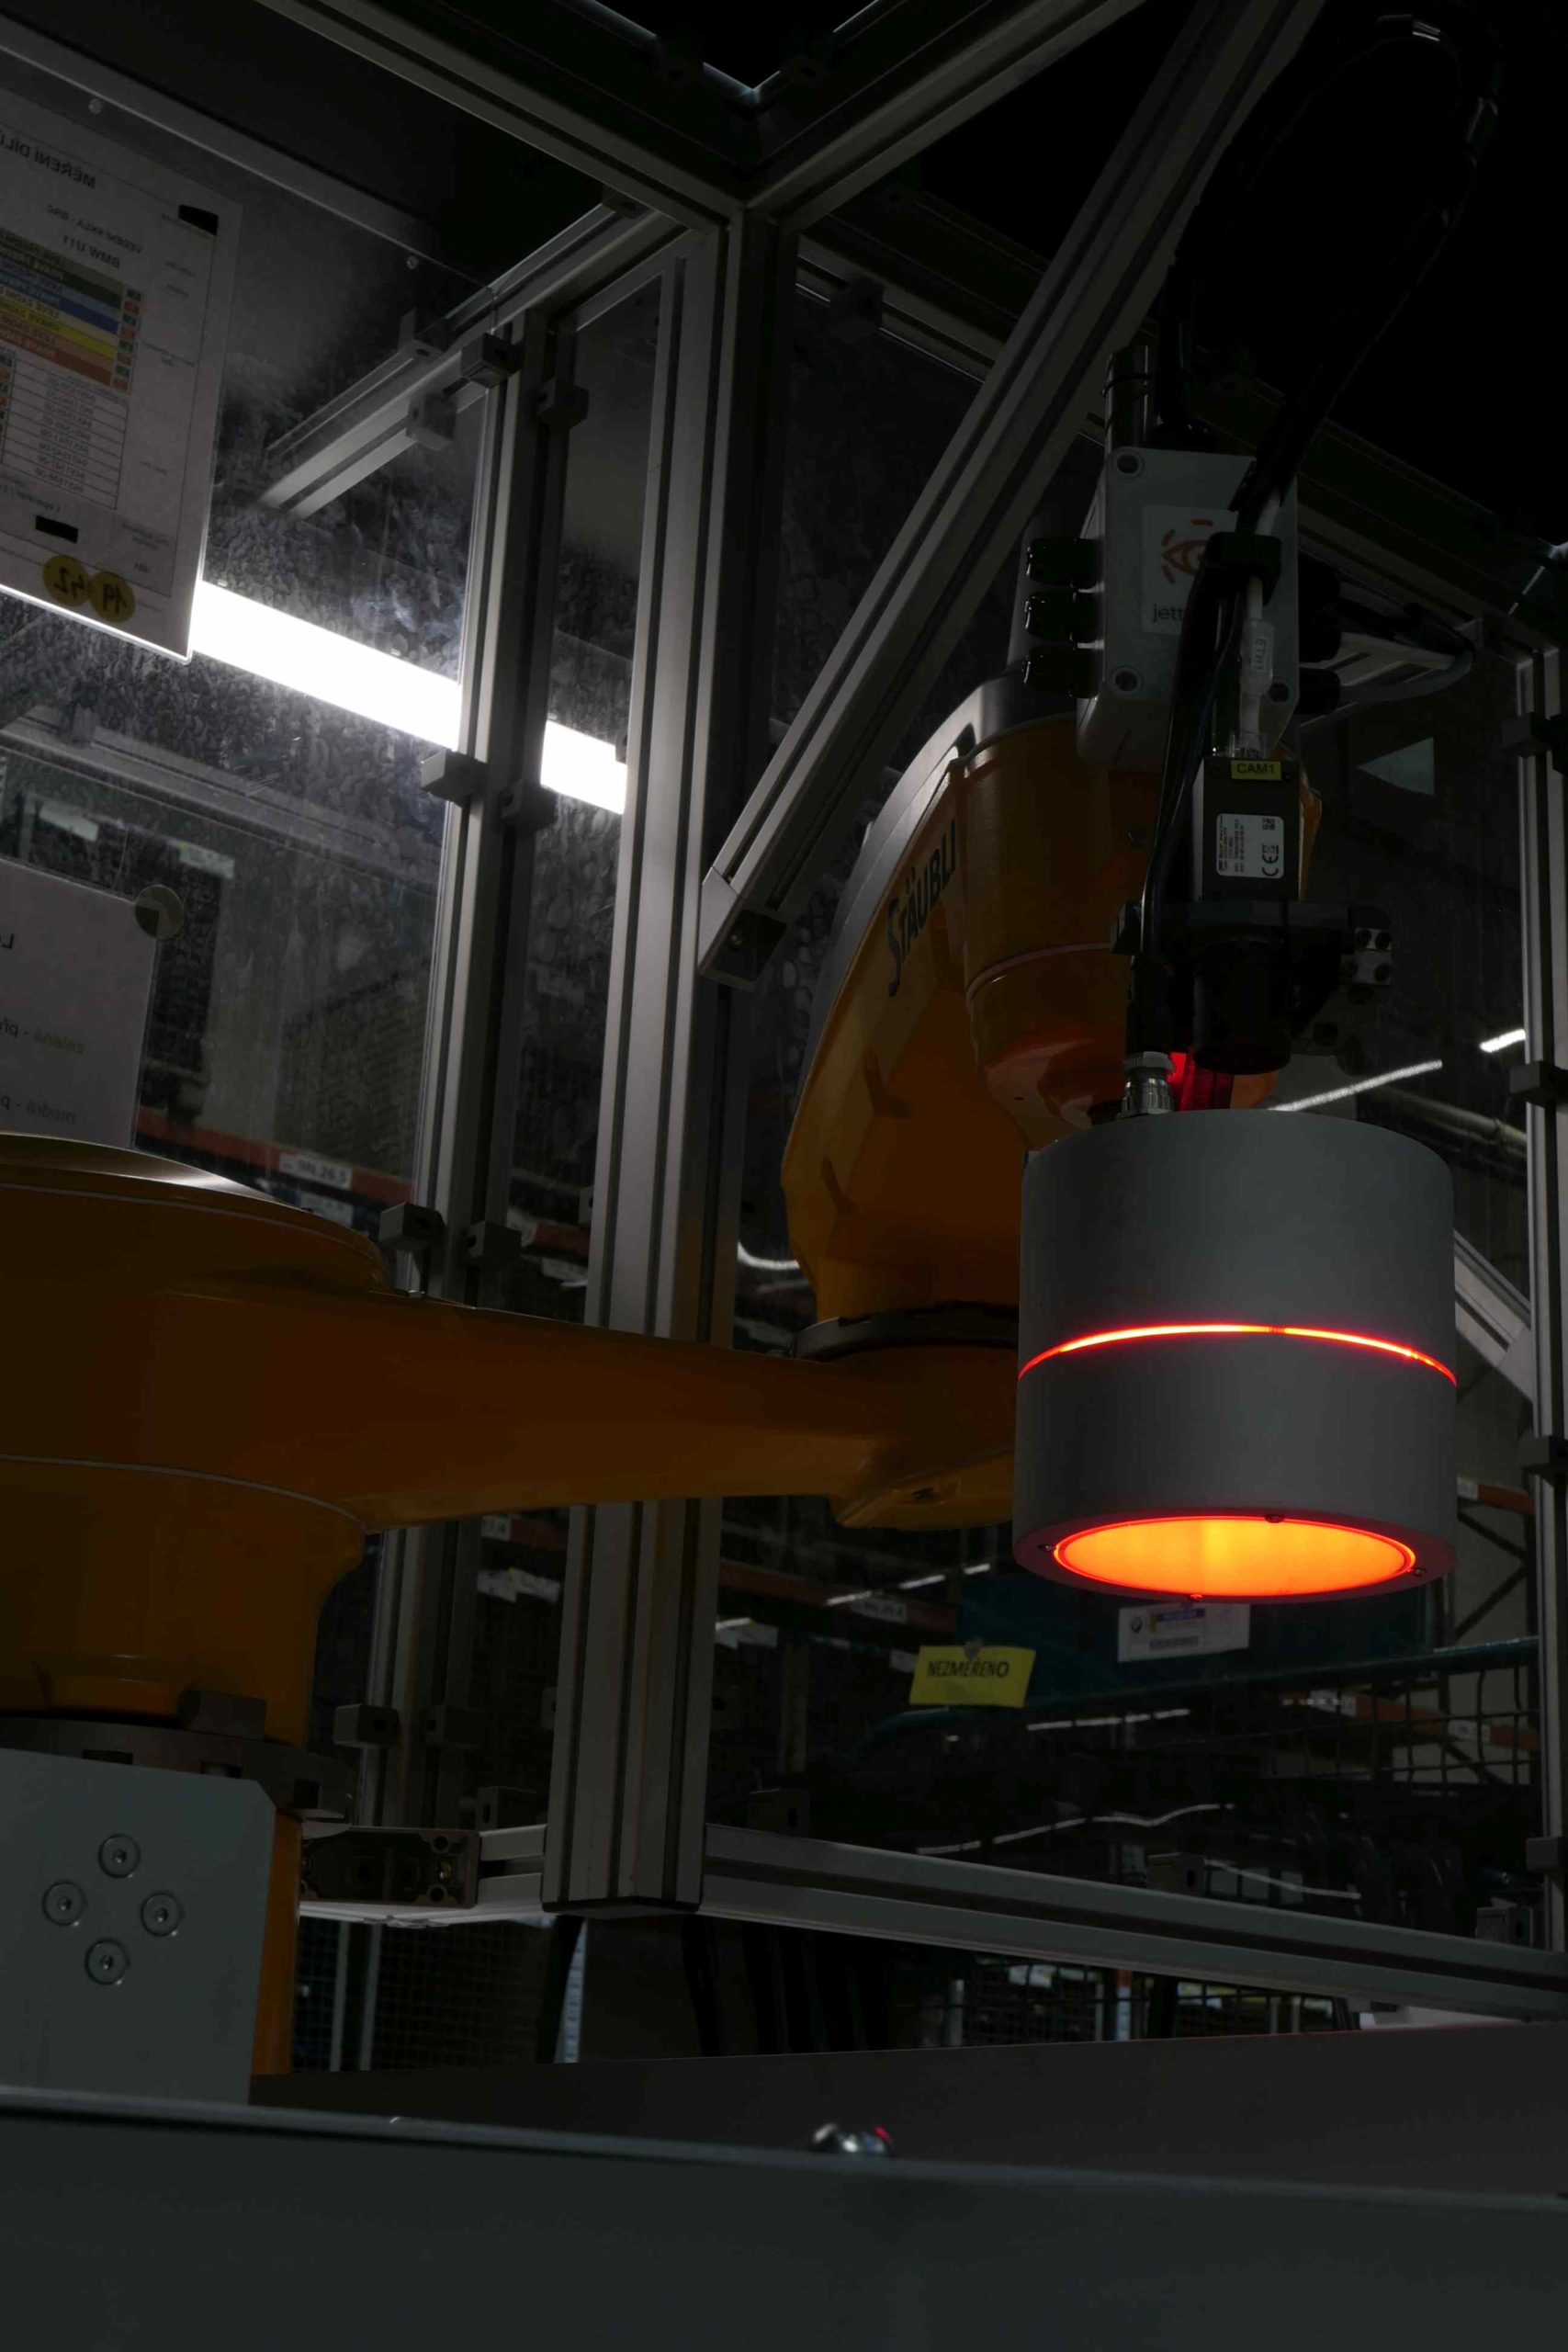
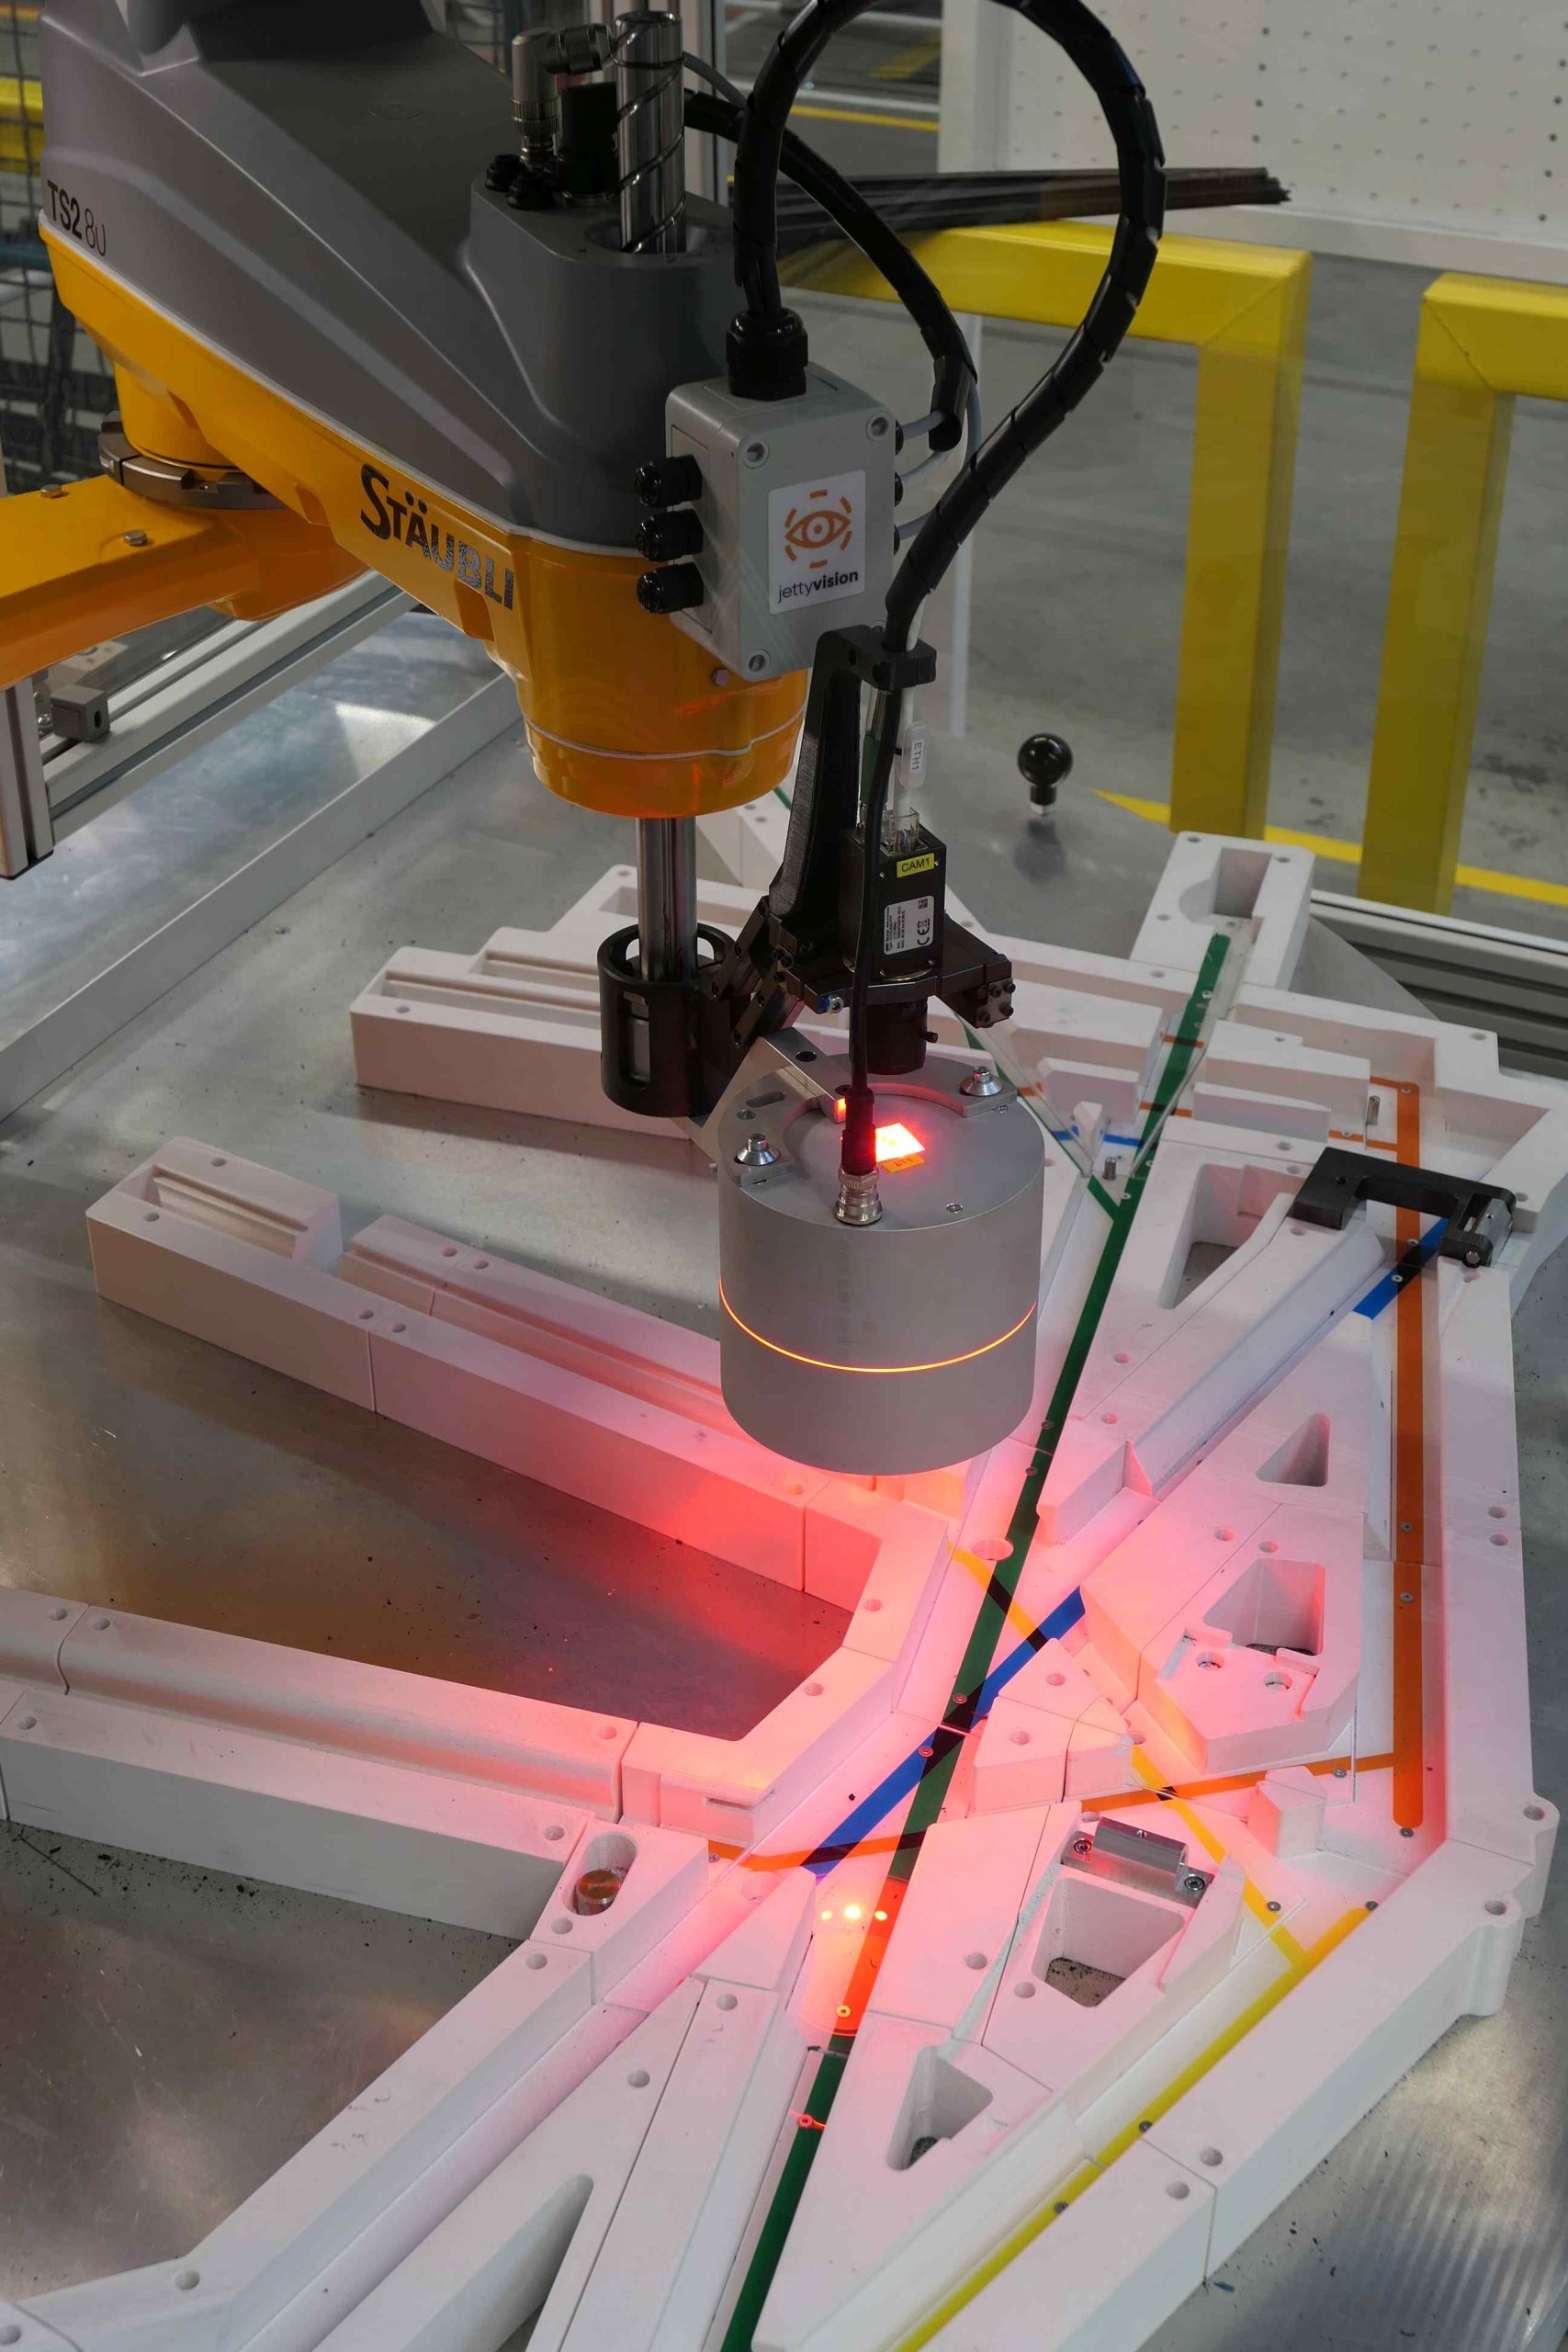
Vision system is the third eye of your production. It cleverly checks the quality of the products and does not miss anything. It can monitor dozens of parameters, whether you are producing small components or large products.
Why is it worth investing in a vision system?
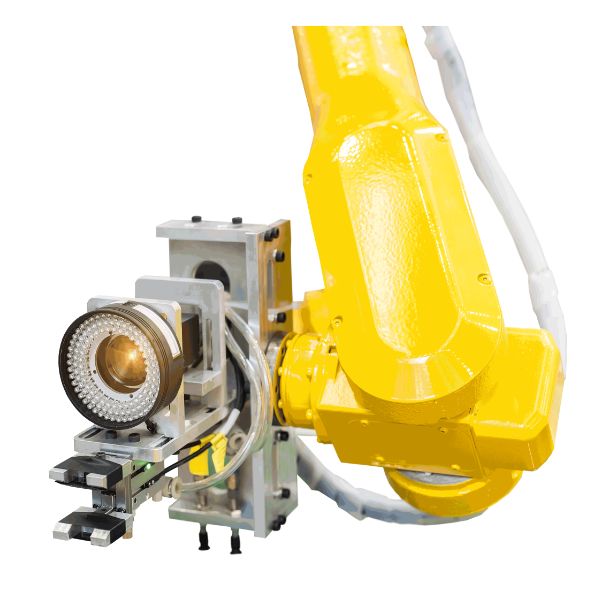
We will streamline and improve your production.
You won’t miss any unfinished business or production waste. Fewer defects mean fewer complaints and faster production.
You can become a market leader.
Automation is the future of production, whoever innovates first will be ahead of the competition.
You save costs.
Smoother production saves money. And what’s more: our systems don’t need a vacation.
Why innovate production with us?

We can handle
complex tasks.
We are cross-disciplinary, so you don’t have to worry about us ignoring any aspect of system integration. We will advise you, even if you are not sure what you need.

We analyze the specifics
of each line.
We deliver a functional solution just for you, not a one-size-fits-all product. We always think about specific production in context so that everything works perfectly.

We think of
your future.
During the analysis, we will also ask you which other products you are planning for production, so that the solution can be adapted for future products as well. The lifetime of the device is limited by your production, not its quality.
Vision systems work particularly well in the following fields:
We are here for smaller manufacturing companies as well as large international companies.
What does cooperation with us look like?
References of some of our clients:
„The production of our products is different from the usual engineering production, the broad context of production must be taken into account. We have come to an understanding with the experts from JettyVision and have been working together for 20 years. Thus we have at our disposal a number of unique solutions that help us technologically improve processes and sort products. We also appreciate the sophisticated system of calibration and verification. In this way, we can offer customers high quality and have a obvious competitive advantage.“
„In our industry, the reliability of production and control devices is important, but also their adaptation for different types and shapes of products. The JettyVision solution can do it all. We gradually integrated more than 20 camera system stations into our production lines. When we stop producing a product, adaptation of the system takes place for the new type of production and we can continue to use the system. Today, we cannot imagine production without these devices. Thanks to them, we are able to guarantee our customers high product quality and thus build our position as a market leader.“
„In the year 2001, we started solving how to measure the dimensions of hot rolled products. We had high demands given the demandingness of our production conditions. The equipment that was then delivered to us in 2003 met all the requirements. Latter additionally we ordered other camera systems, e.g. for measuring the length of the roll for splitting on saws. The benefit of the device is clear – significant financial savings due to more efficient use of the volume of material. Savings values already vary in multiples of the invested amount. And most importantly – the device has been working reliably for many years.“


